I’ve been experimenting with Astro, and I couldn’t be happier. They offer good, free pre-built themes and a ton of features.
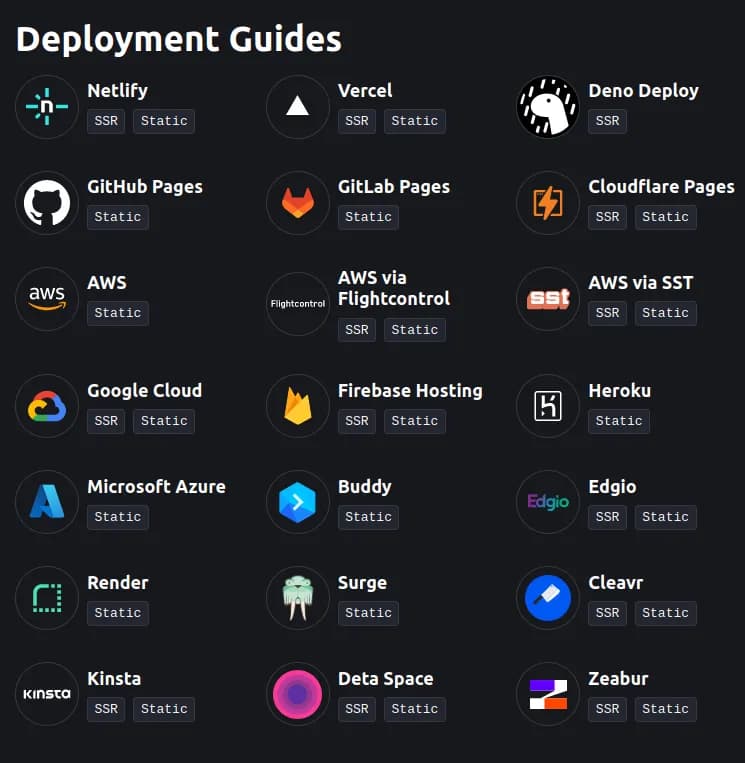
If you’re not familiar with a static site generator, instead of a server generating the HTML at the time of request, it compiles your site into a single folder which you serve to your users. However, you will still need a server to serve these assets. Astro has several methods of deploying, but I noticed they have no walkthrough on how to deploy it to your own server.

The following steps should work for any hosting provider (assuming your running linux).
cd your-astro-project
npm run build
You should now have a dist folder with your site content.
Third you’ll need some sort of server to serve the static files. You could use nginx but in my case I wanted to write it in Rust ❤️.
use axum::Router;
use axum_server::tls_rustls::RustlsConfig;
use std::env;
use std::{net::SocketAddr, path::PathBuf};
use tower_http::services::ServeDir;

#[tokio::main]
async fn main() {
    tracing_subscriber::fmt()
        .with_max_level(tracing::Level::INFO)
        .init();

    let domain = env::var("DOMAIN").expect("DOMAIN NOT SPECIFIED");
    let site_directory = env::var("SITE_DIRECTORY").expect("SITE_DIRECTORY NOT SPECIFIED");

    let config = RustlsConfig::from_pem_file(
        PathBuf::from(format!("/etc/letsencrypt/live/{}/fullchain.pem", domain)),
        PathBuf::from(format!("/etc/letsencrypt/live/{}/privkey.pem", domain)),
    )
    .await
    .unwrap();

    let app = Router::new().nest_service("/", ServeDir::new(site_directory));
    // run https server
    let addr = SocketAddr::from(([0, 0, 0, 0], 443));
    tracing::info!("listening on {}", addr);
    axum_server::bind_rustls(addr, config)
        .serve(app.into_make_service())
        .await
        .unwrap();
}
In 31 lines of code we can spin up a https rust server with axum
let app = Router::new().nest_service("/", ServeDir::new(site_directory));This line will serve our site directory and it should just work.
Now lets configure our server
I choose a digialocean droplet, the smallest they offer 512mb and 10g storage. About $4 per month.
After you’ve spun up your server we’ll want to ssh into it and configure it.
Fist configure certbot. This will automatically generate and renew letsencrpyt ssl certificates for you.
sudo apt update
sudo apt install certbot python3-certbot-nginx
sudo certbot certonly --webroot -w /var/www/html -d yourdomain.com -d www.yourdomain.com
Next we must build cand copy our server binary over.
git clone https://github.com/tie304/axum-https-file-server.git
cd axum-https-file-server
cargo build --release
scp ./target/release/axum-astro root@{SERVER_IP}:/SERVER_PATH
scp -r PATH_TO_DIST_FOLDER_LOCALLY root@SERVER_IP:/SERVER_PATH
Now configure systemd to run your binary
vim /etc/systemd/system/axum-astro.service Description=Axum Astro
After=network.target
[Service]
Type=simple
ExecStart=/root/axum-astro // change to your binary path
Environment="DOMAIN=yourdomain.com" "SITE_DIRECTORY=/root/site" //change to your site directory
Restart=always
[Install]
WantedBy=multi-user.targetsudo systemctl enable axum-astro
sudo systemctl start axum-astro
sudo systemctl status axum-astroNow the next step depends on your domain. You will need to set an A record pointing at the public IP address of your web server
In a few moments you can visit your website.